INITIAL SETUP OF YOUR CSP NODE
INTRODUCTION
The following guide will take you through the initial set up of your Bridgeworks WANrockIT CSP Node for a WANrockIT instance deployed in your ESX environment. For instructions on deploying your CSP Node, see ESXi Deployment – vSphere Web Client or ESXi Deployment – vSphere Client.
LOGGING IN TO YOUR WANROCKIT CSP NODE
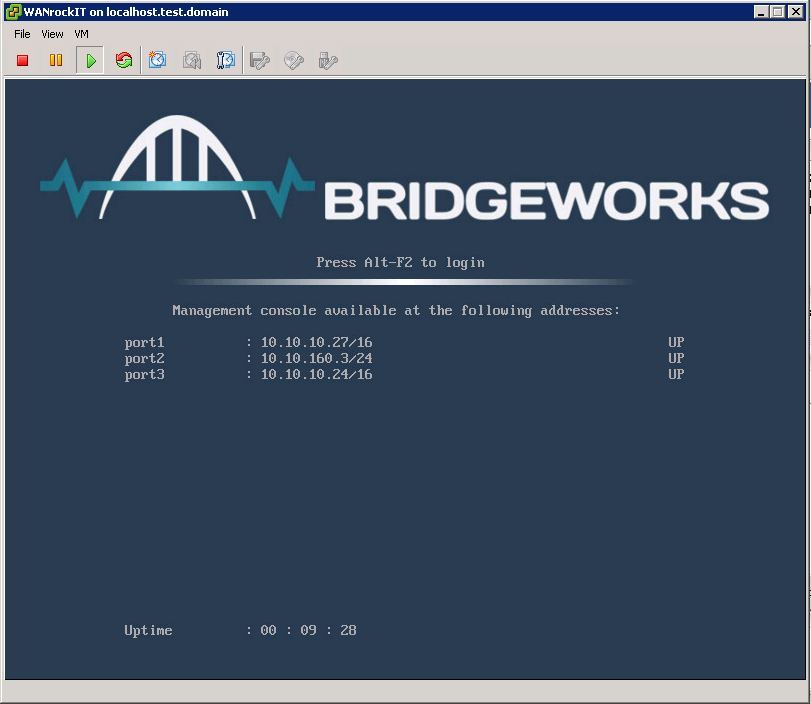
From the vSphere client menu ensure that your node is powered on, the icon will have a green play symbol next to it as shown below. Once running right click on the node and select “Open Console”.

This will display the window below, where the IP address next to Port 1 can be used to log into the node.
FIRST TIME LOGIN
Now proceed to your Node’s web interface by entering the aforementioned IP address from the vSphere client in to your web browser’s address bar.
You are then presented with an initial login page that requests a password to be set for your Node’s ‘admin’ user account.
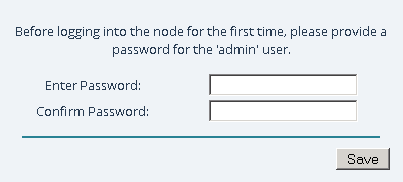
The passwords typed in to the two provided fields must match, and must be a minimum of 5 characters in length and a maximum of 64 characters.
LOGGING INTO THE NODE
When you have entered a valid password, you are presented with a login screen. To access your Node’s management console, enter the login credentials with the username ‘admin’ and the password that you have set.
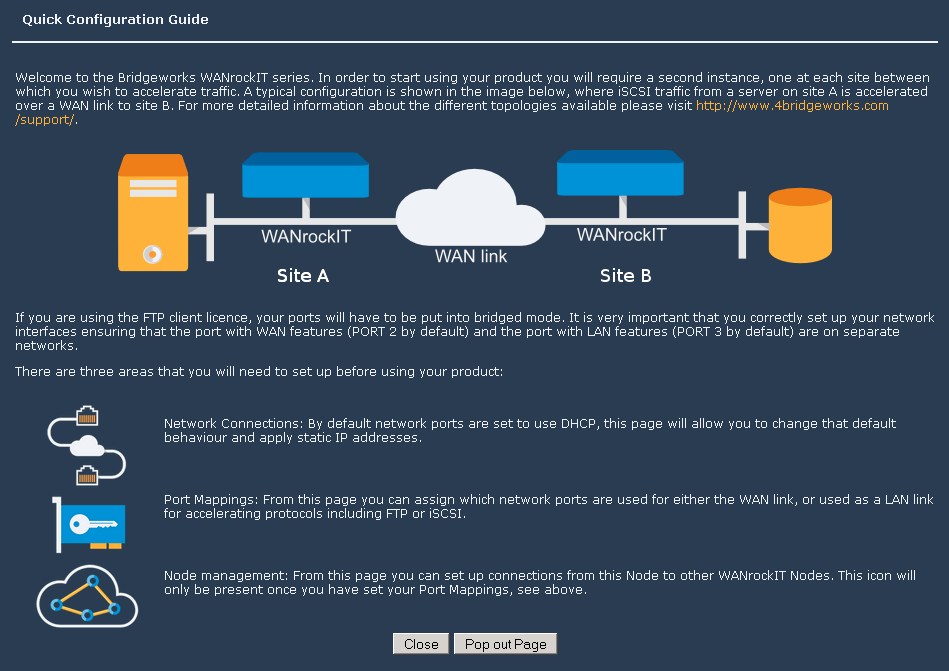
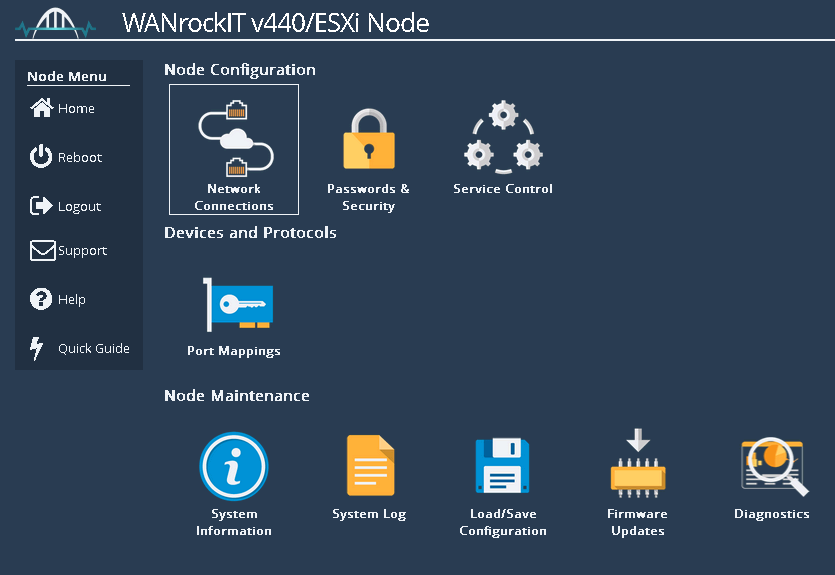
When you have logged in, the Quick Configuration Guide will be presented. This gives an overview of a typical set up, as well as key areas that will need to be configured to get the software operational. This page will continue to appear when you log in until Port Mappings have been configured.
NETWORK CONNECTIONS
![]()
This Web interface subsection will allow you to configure static IP addresses as well as the WANrockIT Nodes hostname. To Change the settings click the “Network Connections” icon as shown below:
From this menu you can change the host name by replacing the word “bridgeworks” with a name of your choice, as shown in the image below. This name is also the alias name used for identifying your Nodes under the “Node Management” section.
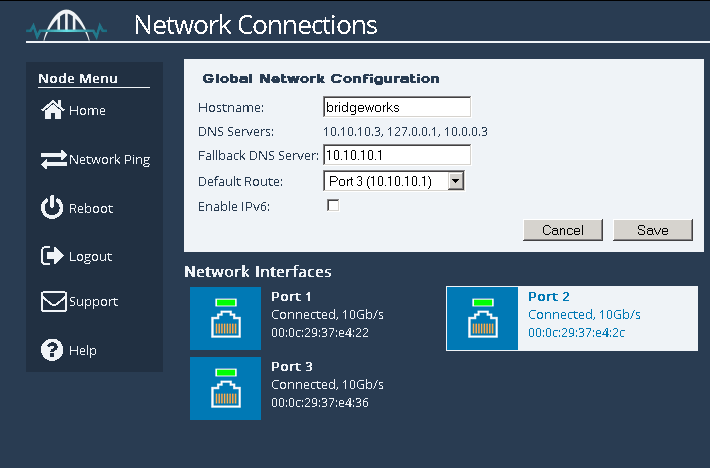
To change the network settings of a particular network port click on the network port, in the image above Port 2 is selected. Clicking the link will display the page below:
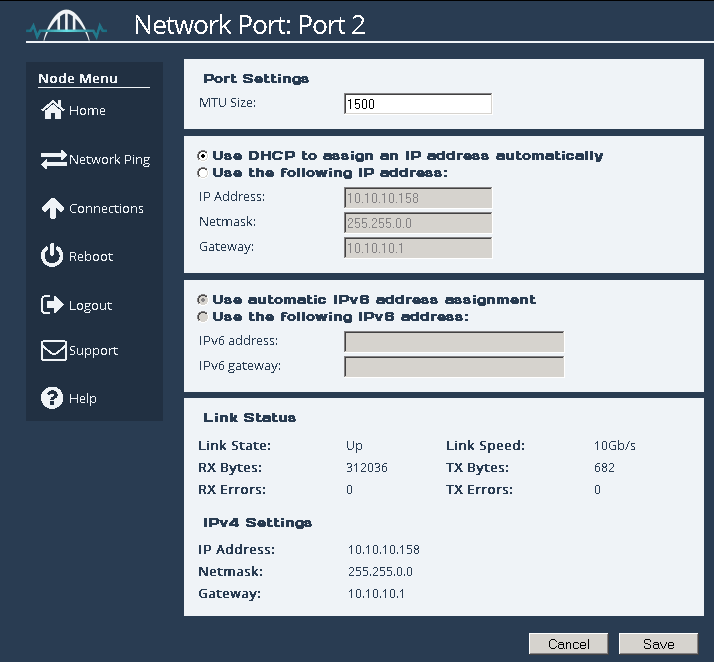
From this menu you can manually assign an IP address to your port by clicking the radio button “Use the following IP address” . The fields “IP Address”, “Netmask” and “Gateway” are now available to be filled in. Once you set up your network options click the save button. A reboot will be required for the changes to take effect.
PORT MAPPINGS
![]()
Overview
Port Mappings allow you to configure which virtual network interfaces will have support for which protocols; for example, adding WAN to a port will allow that network port to be used for WAN acceleration. Except for the WAN protocol, the other protocols are related to the types of traffic that you want to accelerate, such as FTP or iSCSI. Enabling iSCSI will give you an iSCSI initiator and iSCSI target, used for sending and receiving iSCSI traffic. FTP and other protocols will pass the traffic transparently through the WAN port to another connected WANrockIT Node.
Depending on the range of the product purchased, you will be limited to the number of unique protocols that can be applied, but you will be able to assign the same protocol to as many ports as you wish.
Setting Port Mappings
To set up the protocols on a network interface, select an option from the drop down box.
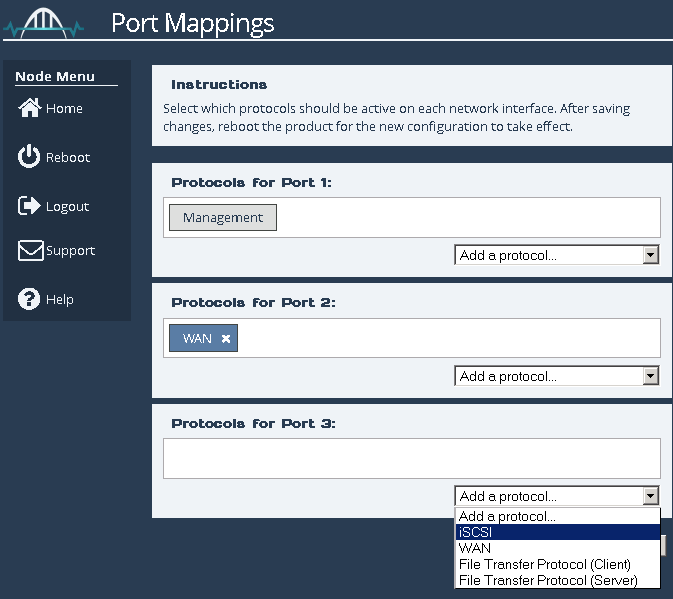
When the protocols have been applied a blue box will appear under the text, as shown below:
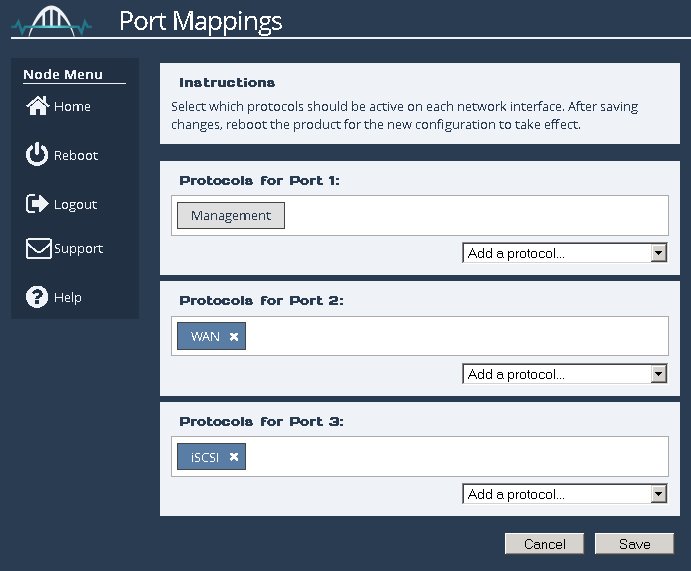
To remove a mapping click on the “X” next to the protocol. ![]()
When you are happy with your configuration, click on the “Save” button. In order for the changes to take effect, a reboot will be required.
Typical Configuration – Virtual Machine instance
In a virtual machine environment the typical configuration is to have Port 1 reserved for managing the Web interface. Port 2 will be the WAN interface and the LAN feature will be mapped to Port 3. In this way Port 2 and Port 3 can be bridged for use with FTP.

NODE MANAGEMENT
![]()
To setup your Node-to-Node connection, please follow the guide at WAN Link and Connectivity.

Bridgeworks have looked at the problem of data movement and come at it from an entirely new perspective. In mastering the rules of data movement over distance, Bridgeworks have now broken them to provide you with the ability to move significant volumes of business critical data in real time removing unacceptable time lags, that risk failure, delay or presents major costs to your business.