DEPLOYING A WANROCKIT ESXI NODE USING VSPHERE WEB CLIENT
INTRODUCTION
This guide will teach you how to deploy your WANrockIT Node into your VMware environment using the vSphere Web Client. This guide is suitable for deploying a WANrockIT series, PORTrockIT series Node. For a full guide on OVF deployment consult the VMware Guide at:
DEPLOYING THE OVF
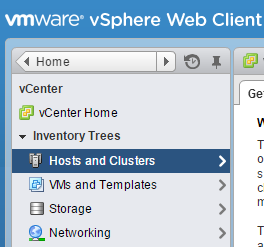
After logging into your Web Client, select “Hosts and Clusters” from the left hand menu.
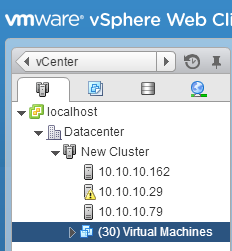
From the new menu select your “Datacenter”, then “Cluster” and then select the Virtual Machine tab as shown below.
Under the Virtual Machines heading, click on the “Deploy OVF template” ![]() button as shown below.
button as shown below.
![]()
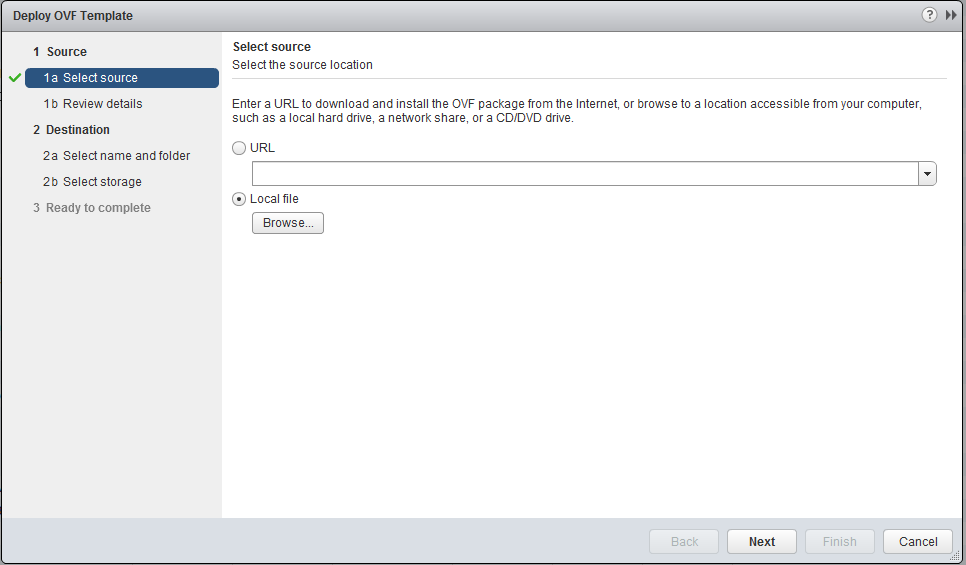
Click on the Browse button, select the location of the Bridgeworks OVA file and click ”Next”, as shown in the image below.
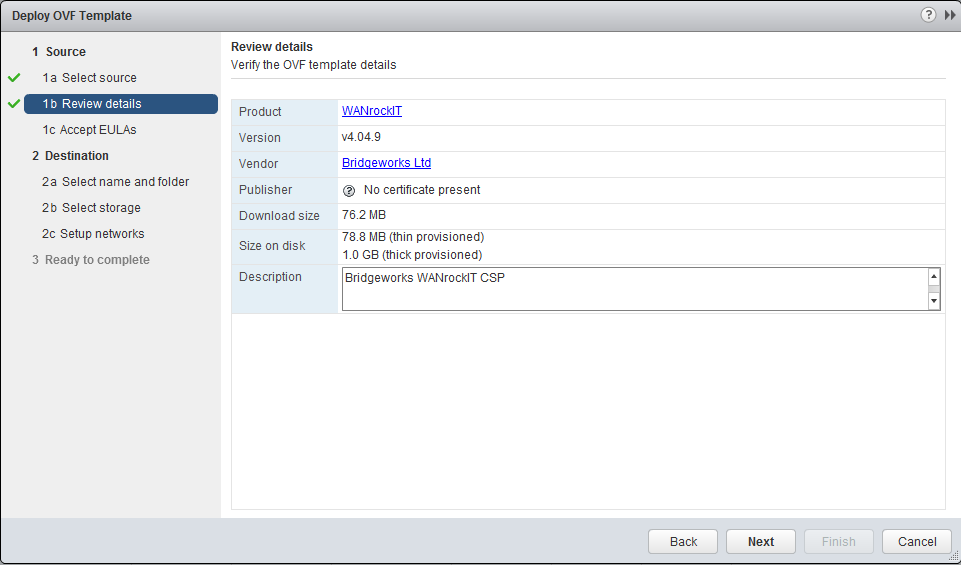
As soon as the template has loaded you will be presented with the following page. Confirm you are deploying the correct product, and click ”Next”.
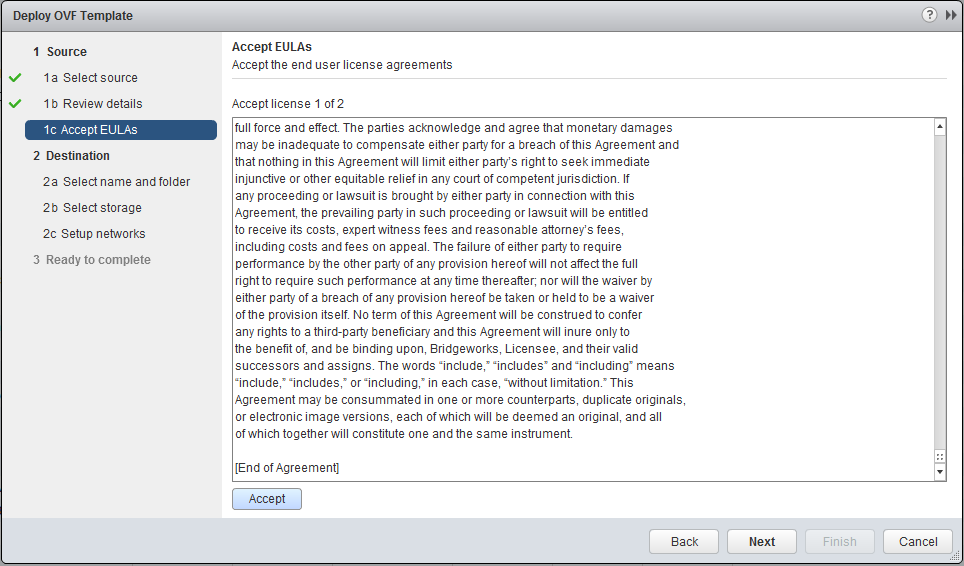
You will be presented with an end user licence agreement, i.e. the same EULA that was accepted when you purchased the AWS Node. It is important to read through this agreement thoroughly. In order to proceed you must accept the agreement by clicking ”Accept” followed by ”Next”.
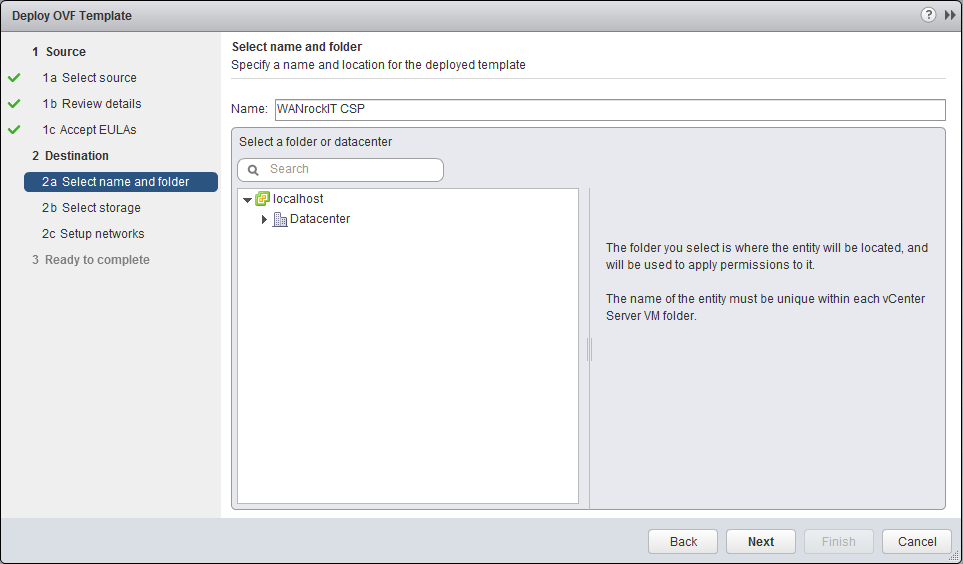
Enter a name for the virtual machine. In this example, the name is “WANrockIT CSP”. Then select which “Datacenter” The image will be deployed into.
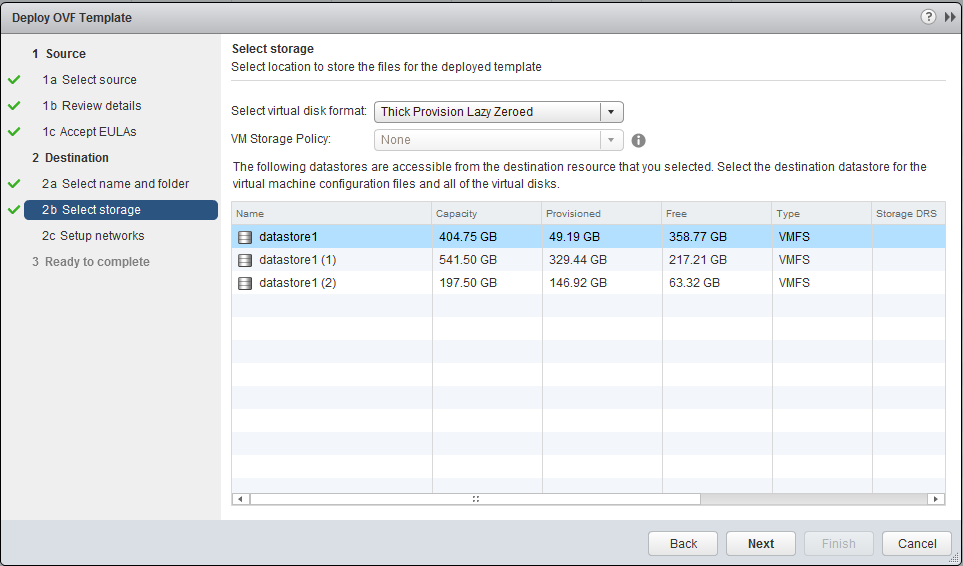
Select a data store with at least 1GB of free space for the WANrockIT virtual machine and click ”Next”.
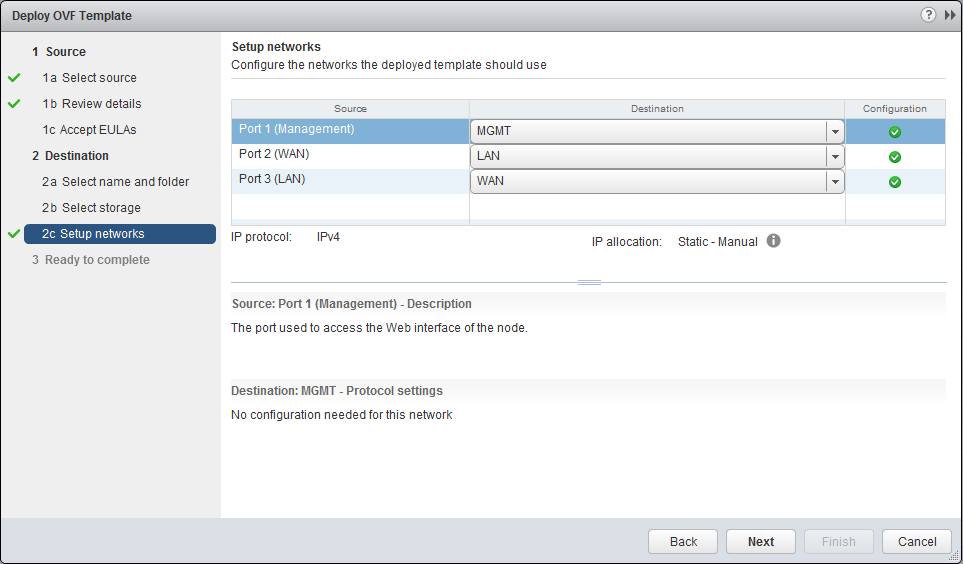
Three network ports will need to be configured and connected to relevant vSwitches.
Clicking on each network port will give you information about what each port is to be used for:
- Port 1 (Management): This is used to access the web interface for managing your Node.
- Port 2 (WAN): This is used to connect to your other WANrockIT across a WAN link.
- Port 3 (LAN): This is used to connect to the device to which you want to apply the acceleration.
It is important to note that if you are using the “FTP client” protocol on Port 3, it will require a network bridge to Port 2 to act as a “bump in the wire”. To this end it is important that both ports are isolated from each other to prevent loops being created in the network.
To complete, click on “Next” and then “Finish”.
Congratulations, you have finished deploying your Bridgeworks Node. If you are planning on using the FTP feature, you must set up your vSwitches to use promiscuous mode; the instructions for this are outlined in Configuring your On-Prem Node for FTP Servers in AWS.

Bridgeworks have looked at the problem of data movement and come at it from an entirely new perspective. In mastering the rules of data movement over distance, Bridgeworks have now broken them to provide you with the ability to move significant volumes of business critical data in real time removing unacceptable time lags, that risk failure, delay or presents major costs to your business.